Nix Robot Project
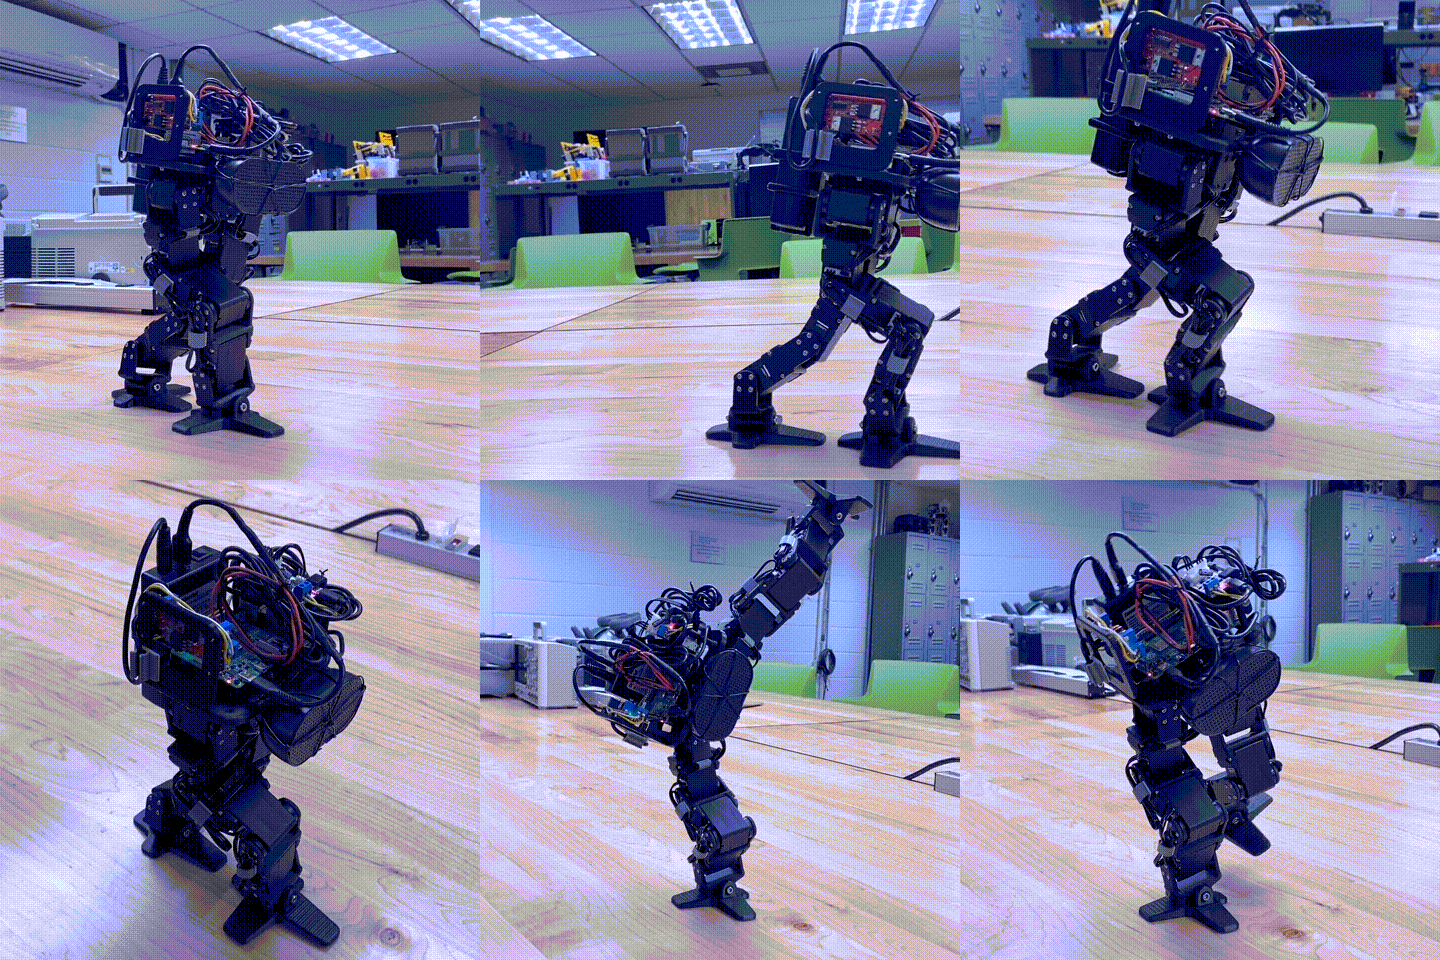
Build Your Own Humanoid Robot
About
What is Nix Robot? Humanoid robot with embodied AI? ED-209 in real life? Learn more on this page.
Nix Robot is the name of the robot and the pen name of the creator. This machine is a programmable bipedal robotic system. It has two legs with 8 degrees of freedom controlled by 8 servomotors plus 2 free joints: a total of 10 DOF.
The machine can walk with several gaits, sit on the ground and stand up from the ground, kneel, turn, slide, kick, and do other moves.
It can also stand up from the fallen state (if an accelerometer or IMU is installed), detect objects and distances to obstacles (if a camera or ultrasonic sensor is installed), speak (if a speaker is installed), recognize audio (if a microphone is installed) and more.
Purpose of this document
This project is a blueprint to build and program a robot that have two legs, similar to humans. It is aimed at teaching and learning robotics, as well as at experiments with gaits and robotic intelligence.
Here, we discuss how to build the machine and develop its software.
As the project is partially open, the page gives some open materials and links to useful resources.
The Complete Instruction Kit to Build Your Own Nix Robot
This includes the Book (manual) to build it + CAD files + Schematics + BOM + All Assembly Drawings + Source Code to program the device.
Complete build guide
STEP + STL
Electronics + printable parts + fasteners + tools
Electric circuits
Detailed figures
Source code for many moves
The full name of the book: Build the Bipedal Walking Robot: A DIY Guide to 3D Printing, Assembly, and Coding with Arduino and Raspberry Pi. By Nix Robot. Published in 2025. ISBN: 9798278222026, 9798278612087.
Now, let us discuss a quick start guide on making Nix Robot. The first step is obtaining the book (manual) and the electronics. Then, getting screws and nuts, 3D printing, assembling, and programming. Follow the sections below to implement that.
Bill of Materials [Electronics Only]
| Item | Quantity |
| LX-16A servomotors | 8 pcs. |
| Bus Linker for LX-16A (aka USB Debugging board) | 1 pc. |
| Battery Talentcell YB1203000-USB | 1 pc. |
| Voltage Regulator 12V DC to 6-7V DC | 1 pc. |
| Raspberry Pi 4 or 5 minimum 2 GB RAM and microSD | 1 pc. |
| Or Arduino UNO or UNO Q (replaces Raspberry Pi) | 1 pc. |
| USB Mini Speaker [e.g. HONKYOB H002, Adafruit 3369] | 1 pc. |
| USB Mini Microphone (optional) | 1 pc. |
| LEDs, Resistors for LEDs (optional) | 2 pcs. |
| Sensors: Accelerometer, Ultrasonic (optional). | 1-2 pcs. |
| Camera for Raspberry Pi (optional) | 1 pc. |
| USB-A - Micro-USB Data Cable 15 cm | 1 pc. |
| USB-C - USB-A Power Cable 20-30 cm | 1 pc. |
| Power Plug Coaxial Barrel Connector 2.1x5.5 mm | 1 pc. |
| Wires for Power, 22 AWG | 1-2 m |
| Jumper Cables F-M, F-F, 20 cm (optional) | 4-8 pcs. |
| Other USB Data Cables (for Arduino) | 1-2 pcs. |
This list above is provided for convenience of builders who wish to get all electronics alongside the book in one order. Other materials, including fasteners, are listed in the book.
CAD Files
CAD files for this project are open-sourced: these include both STEP and STL files. STEP files are good for CAD design (your redesign of the parts), while STL files are high-quality (in terms of polygon number) 3D-printable meshes.
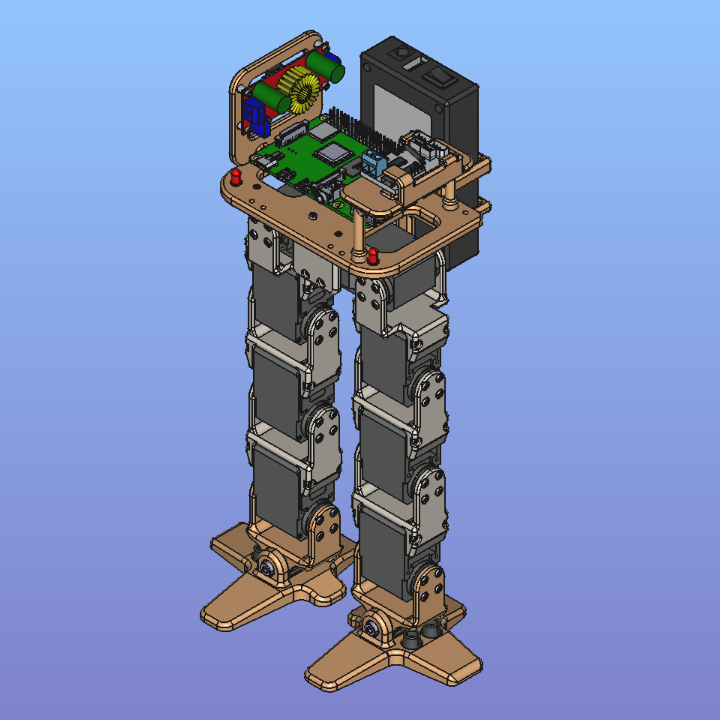
Grab them on GrabCAD: full set of 3D files for printing.
Bonus: URDF file (needs improvements, provided as is).
The Assembly Guide
The easiest way to make the robot is to follow the detailed step-by-step instructions that are provided in the book. It is technically possible to build this robot without the manual. However, the text explains all nuances, shows every single screw and nut where they go, outlines positioning of all components and motors.
Besides, by ordering the book, you support the author and help with the creation of new projects.
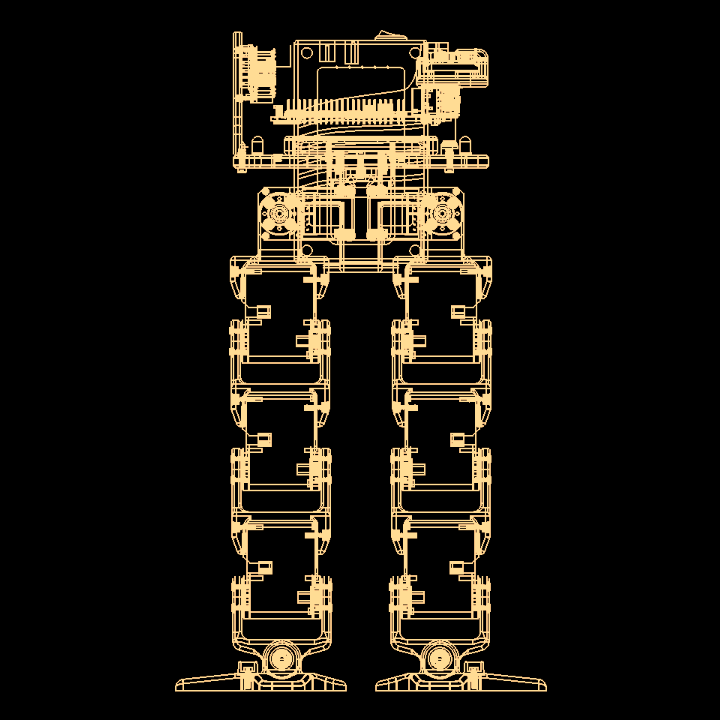
Programming
How is the coding done?
There are two ways to program this machine:
Python
C++
Both choices provide the robot class to control the robot.
Most of the code is closed.
The following methods are provided in these classes:
Python
def check_angles():
def homing_position():
def move_all_servos():
def move_left_leg():
def move_right_leg():
def straight():
def tilt_left():
def tilt_right():
def disable_torque():
C++
homing();
moveAllServos();
moveLeftLeg();
moveRightLeg();
straight();
tiltLeft();
tiltRight();
enableTorque();
disableTorque();
isTorqueOn();
isRunning();
runCommand();
Book Preview
Here, you can observe the preview of the book in PDF format.